Turning a bottle into an oval flask is a fun way to modify and personalize your pottery. This tutorial will cover every step of modifying a round bottle to make an oval vessel on the pottery wheel.
Here’s a video of the process and a full tutorial with pictures is below.
Step 1: Center and Open
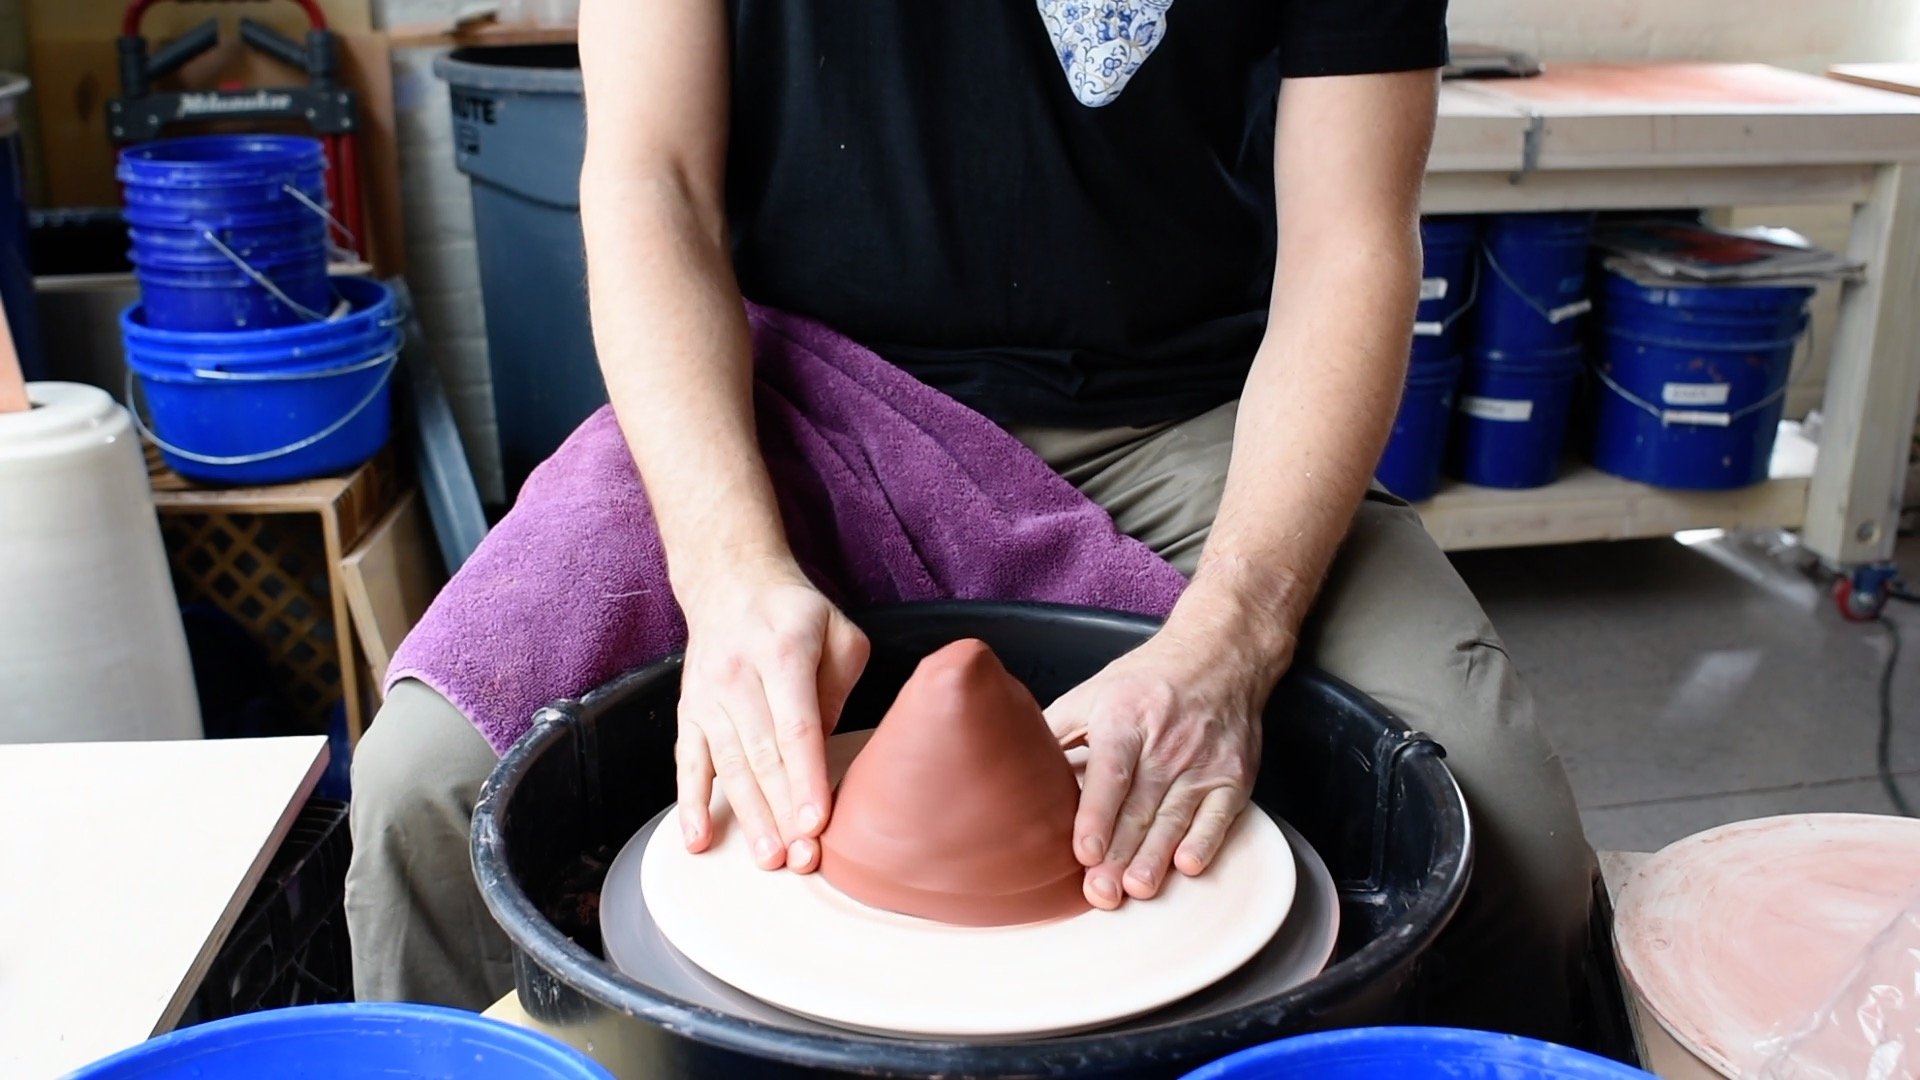
Beginning to center the wedged clay.
In this tutorial, four pounds of red stoneware clay was used, but you can vary the amounts based on the size of flask you want to make.
Remember that you will be cutting the form off the base, and then re-attaching a slab base in the new oval shape.
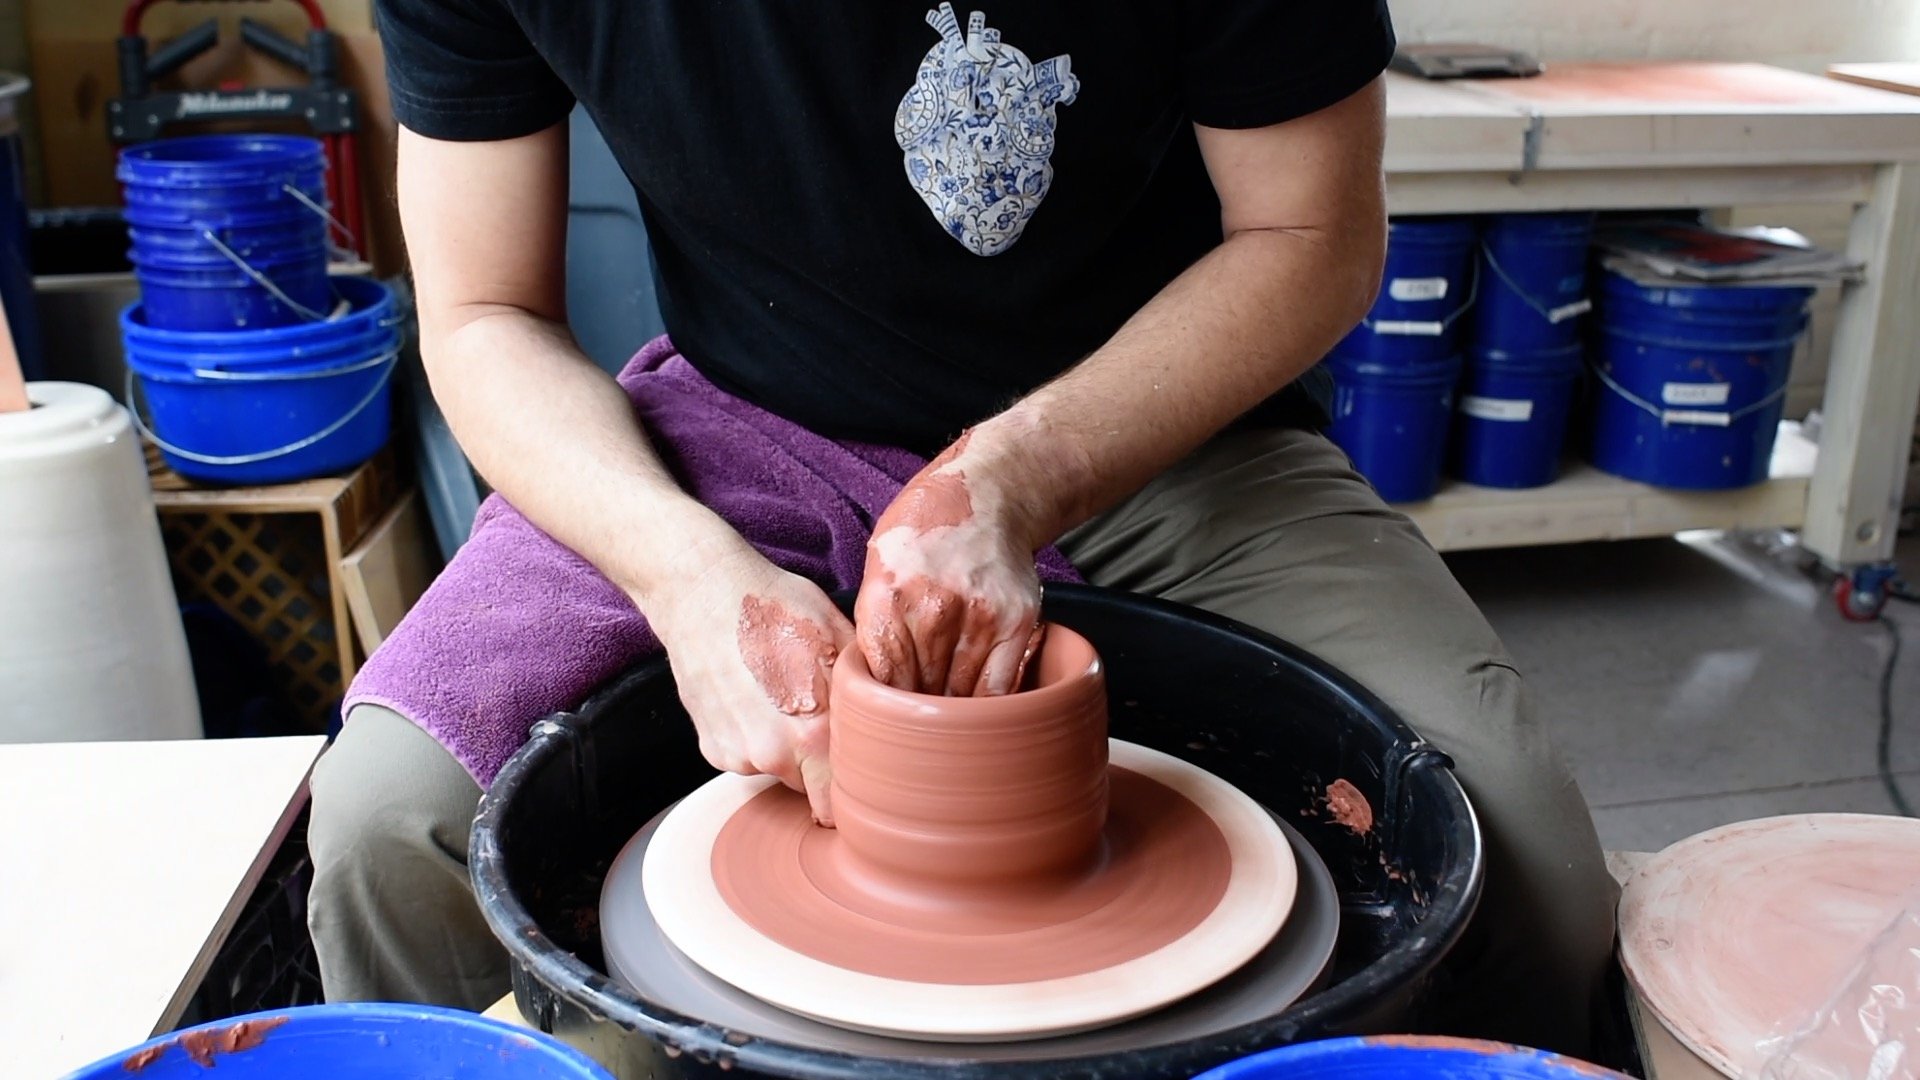
Opening the clay to throw a cylindrical form.
After wedging, join the clay to the wheel head and begin centering. Then, open the mass of clay and organize the clay into a base and walls.
For a bottle, you want a flat bottom, about 1/2 inch from the wheel head. But we will be cutting this off the bottom so the thickness of your base is not of great concern at this point, but you still want the walls to be even.
Pull the walls as high and thin as you can, but keep a good amount of clay at the top as the next step will be collaring in to make the neck.
Step 2: Collar In to Make the Bottle Neck and Mouth

Begin collaring by using wet hands and slowly move the clay in.
After pulling the walls, beging to collar in the top to make the shoulders, neck, and mouth of the pot. This should be done slowly with multiple passes.

Bring the clay in to the desired width of your neck. You will be able to make adjustments later too.
Before putting the finishing touches on the neck and mouth, I clean up the walls as shown in the next step.
Step 3: Cleaning the Walls and Shaping

Removing excess clay from the lower half of the form.
After collaring in the top, I like to do a quick step where I remove some excess clay from the base of the walls. You may throw perfectly thin, but I usually need this trimming to get rid of extra clay on the bottom half. I use a large trimming tool to remove clay.
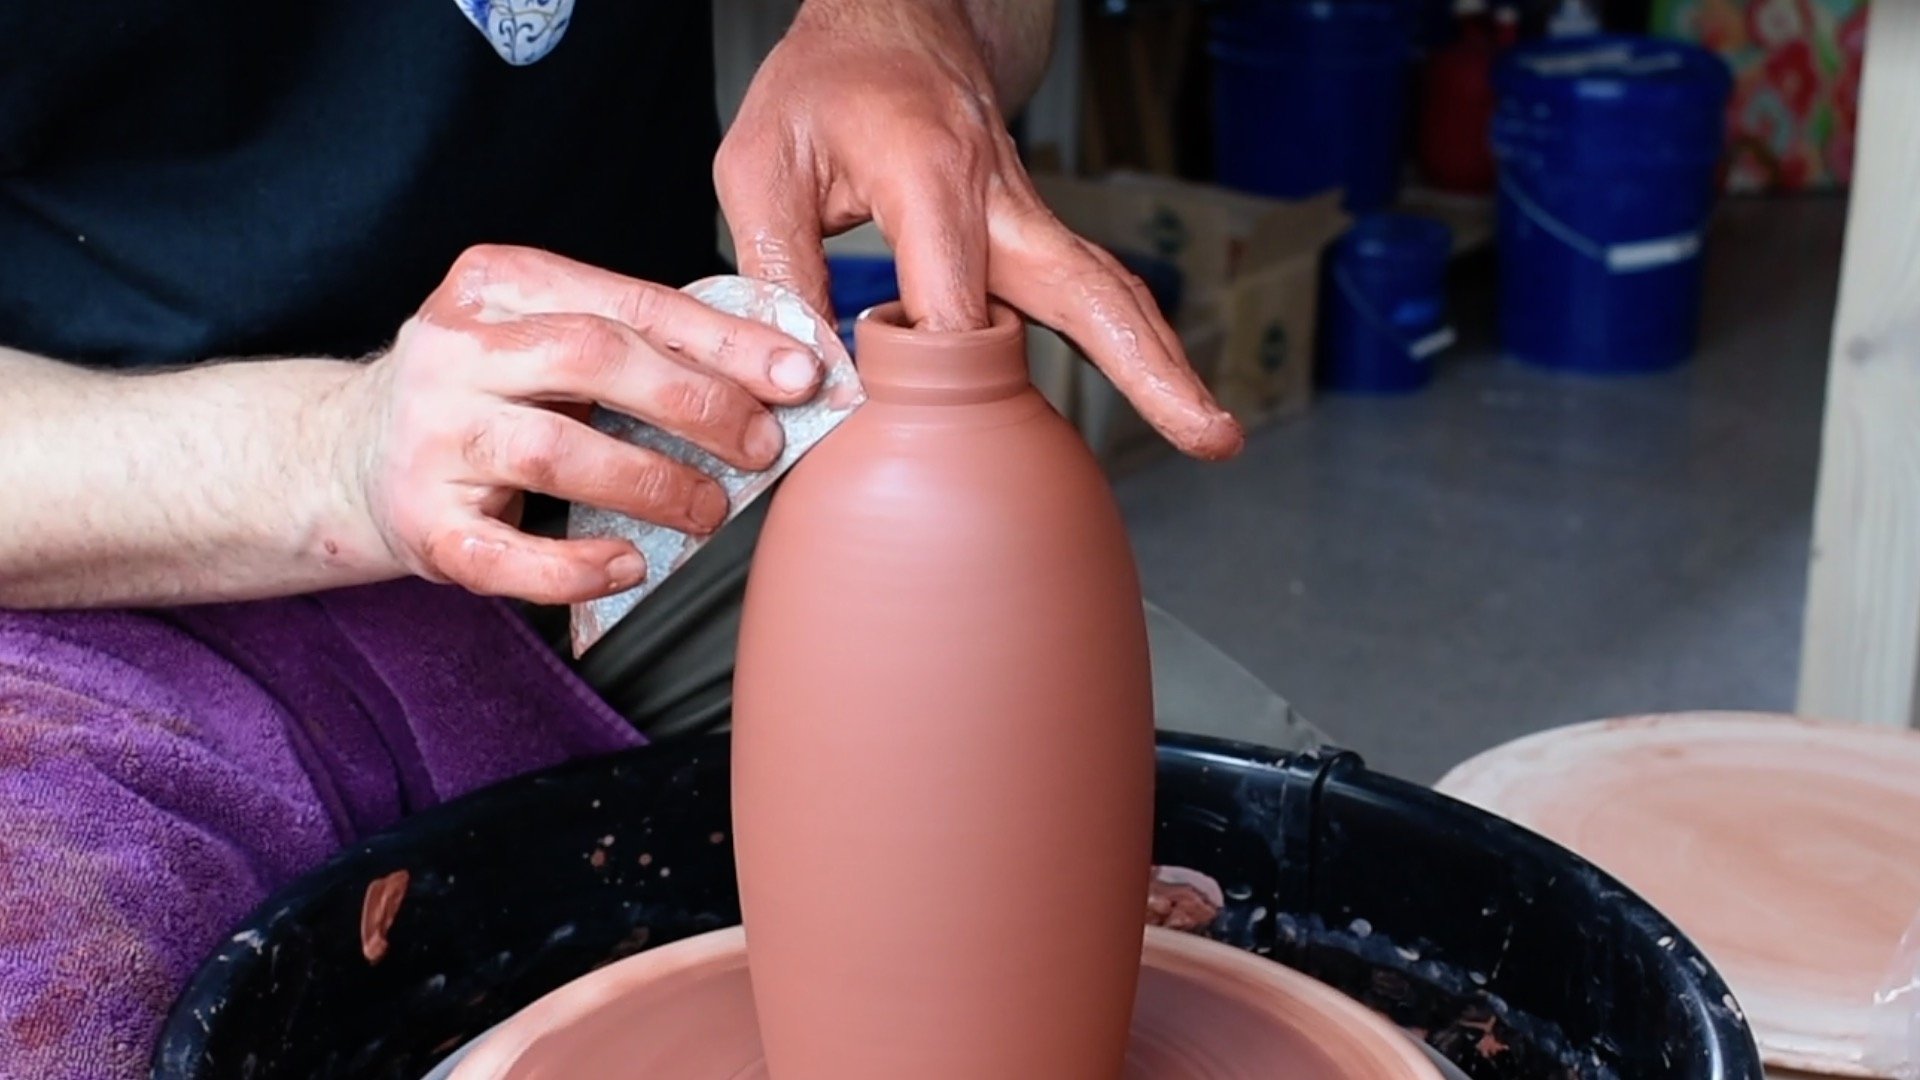
Shaping the shoulder and neck with a rib.
Then, I use a rib to refine the shape of the neck and shoulder. This will also remove slip, making our next step easier.
Step 4: Removing the Base and Pressing Into an Oval
After throwing and shaping your round bottle, use a needle tool to cut the form from the base. Pick the bottle up and set it aside. Place a rolled-out slab on your work area and return the bottle form. Then, with equal pressure from both sides, press the bottle into an oval form.

Cut the bottle off from the base.

Place a slab in your work area, the press the bottle into an oval shape.
Step 5: Adding a Slab Base and Cleaning Up

Join the oval form to the slab base.
When you have your bottle top and base shaped just how you want them, score both sides, add slip and join.
It can be helpful to press the slab base up into the wall by running a wooden tool underneath the slab.
Then, cut off excess clay and smooth the base and wall together.

Pressing the base up into the wall with a wooden tool.

Cleaning up the base after removing excess clay.

Smoothing the walls.

Trimming the walls of the bowl.
All done! After cleaning up, it’s time to let your oval flask dry and get it bisque fired. The wide sides of this form can provide a great canvas for decoration. Good luck!