Sgraffito is a technique of carving through a contrasting clay or slip to reveal the clay body below. It’s a fun way to get a very bold decoration on your ceramics.
This tutorial will cover how to apply the slip, carve through, and clean up. Keep scrolling for step-by-step instructions.
Tools Needed
> A banding wheel or turntable is very helpful
> Slip or Underglaze and a brush
> Carving tool, such as a pencil or a sgraffito tool
> Dry brush for clean up
You can also watch a video of this process here:
Sgraffito On A Large Bowl Tutorial
Step 1: Lightly Clean the Working Surface

Cleaning the surface of a leather hard bowl.
In this tutorial, the demonstration piece is a large salad bowl on the dry side of the leather hard stage—almost bone dry. To prep the surface, a wrung-out sponge is used to lightly clean the surface. This extra water will also help the underglaze stick.
Step 2: Apply the Slip or Underglaze

Applying first coat of underglaze.
The key to sgraffito is to pick a slip or underglaze that will contrast with your clay body. In this example, slightly watered-down Velvet Underglaze medium blue is being applied to a speckled buff stoneware.

Applying the second coat of underglaze.
To get an opaque, solid covering of underglaze, 3 to 4 coats is applied. Be sure to allow the coats to dry between each application.

Applying the final coat.
Step 2.5: Let the Underglaze or Slip Dry

This step doesn’t take long, but do let your slip or underglaze dry before you begin carving.
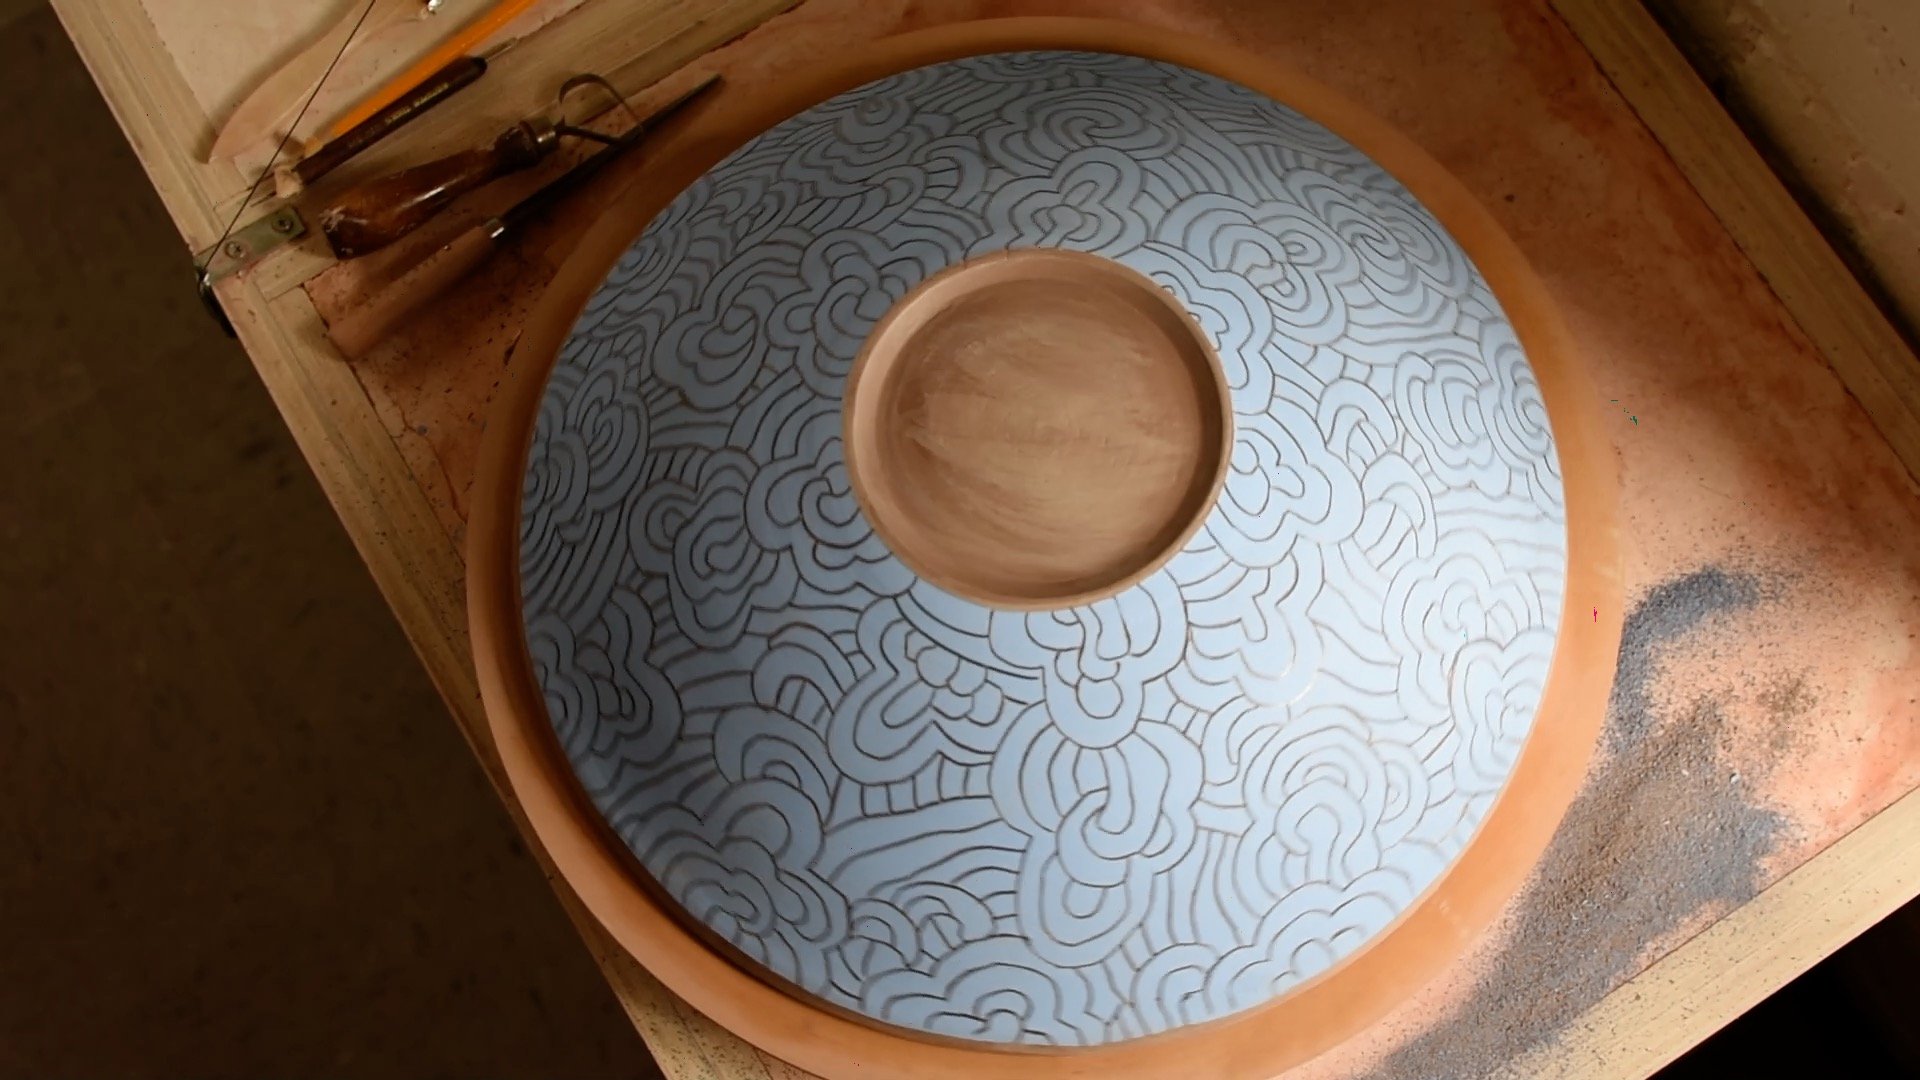
Step 3: Carve Your Design

Carve your design.
Using your sgraffito tool, begin to carve through the stop layer, exposing the clay body below. It can be helpful to practice your design as a drawing before you begin carving.
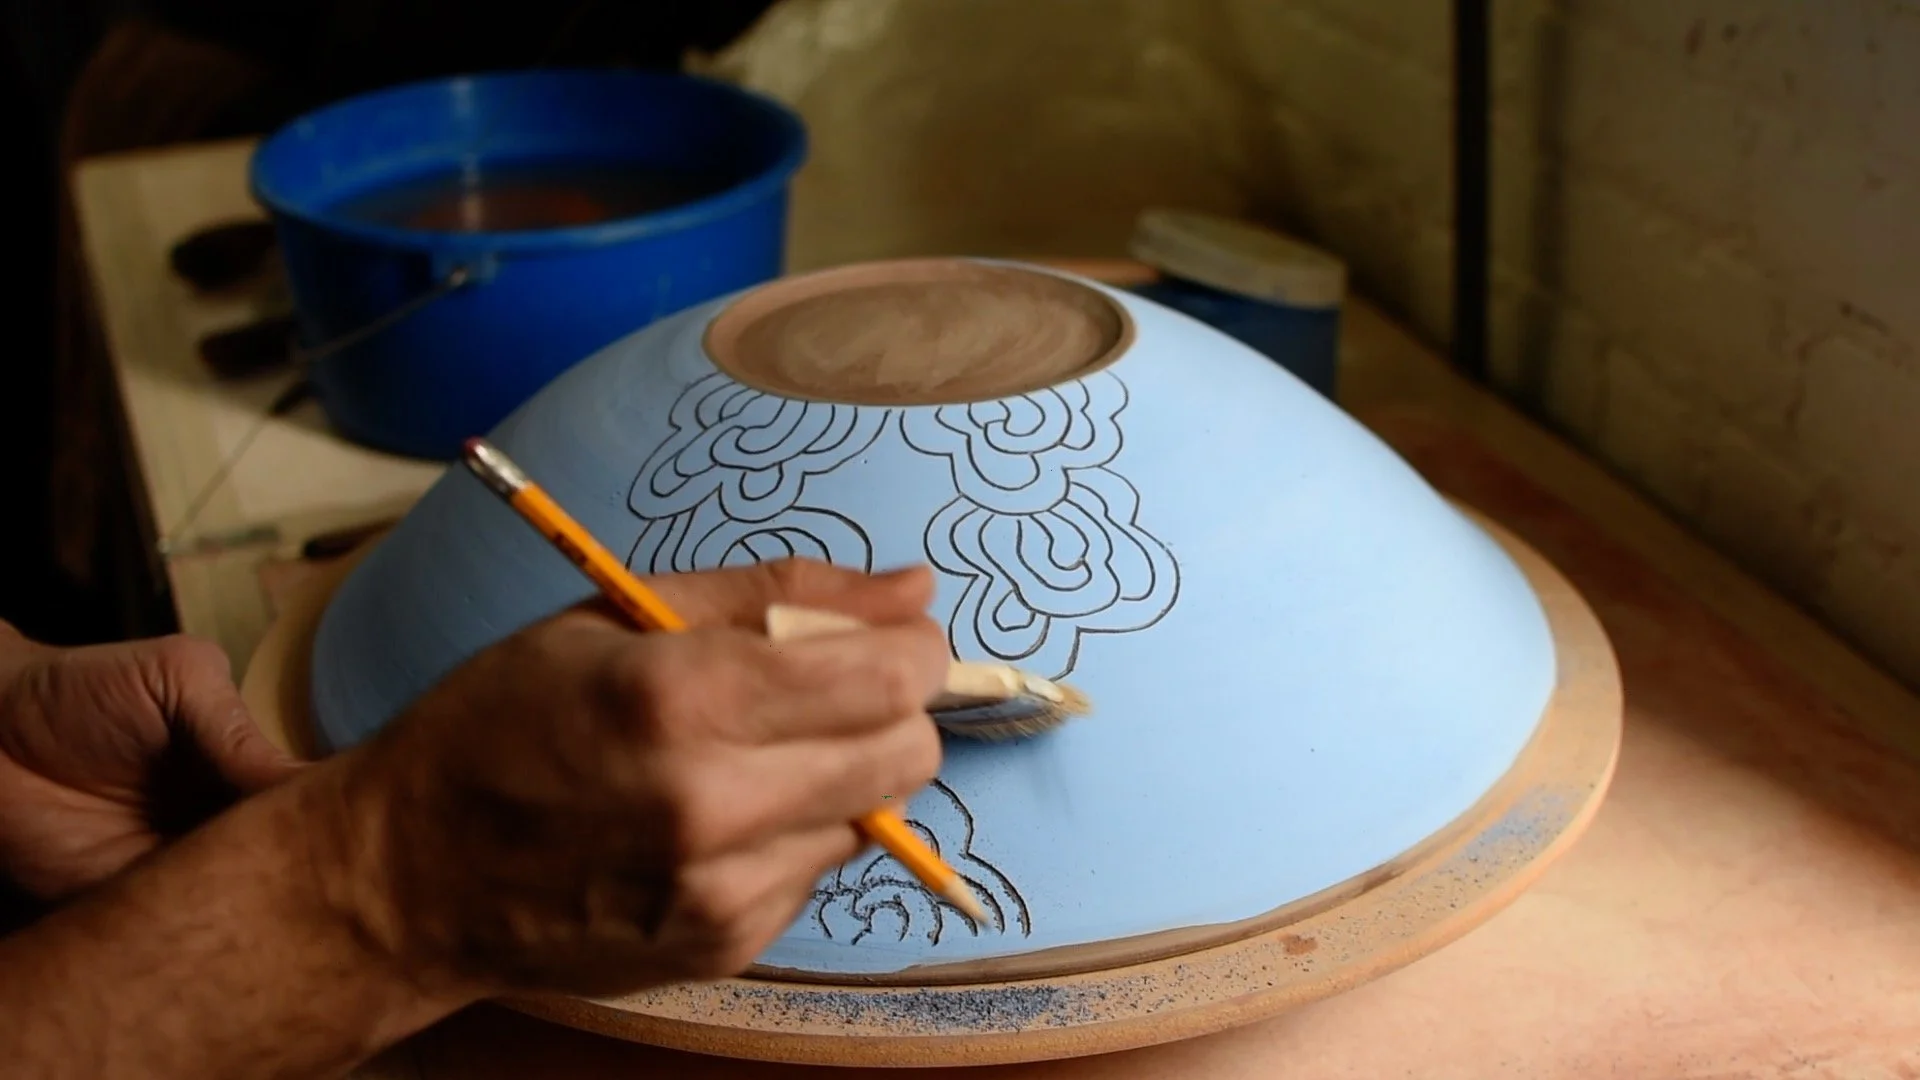
Clean your carving as you go.
As you are carving, little bits will stick up on the side of the carved lines. If you are working at a dry leather hard stage (as opposed to the more damp side of leather hard), you should be able to easily clean these bits as you work just by using a dry brush.
If the clay bits won’t brush off, wait and complete your carving later. Or, you can make your carving and brush off the bits when the pot is bone dry.
Step 4: Clean Up and Finishing

Finished carving, but before cleaning.
After carving, you may want to clean up any edges at the top and bottom of your carving.
In this example, the foot area is cleaned with a fettling knife, and the rim area is cleaned with a loop too. Use whatever makes sense for your piece.

Cleaning the foot.

Cleaning the rim.
All Done

The finished bowl with sgraffito decoration.
After cleaning, you are all done and ready to bisque fire. Generally, sgraffito looks best if left raw or covered in a thin application of clear glaze, but testing will determine what is best in your kiln.
Good luck with this technique and have fun.
Do you have a favorite sgraffito tool or technique? Let us know in the comments.
You might also enjoy:
Turn a clay slab into a plate tutorial